

lolpol
-
Content Count
18 -
Joined
-
Last visited
Posts posted by lolpol
-
-
On 11/09/2020 at 12:10, Lx1 said:Se deu certo, obrigado, não consegui publicar por causa de muito trabalho, logo vou finalizar meu skin
Obrigado
Eu usei o tradutor do google
Ok :v
-
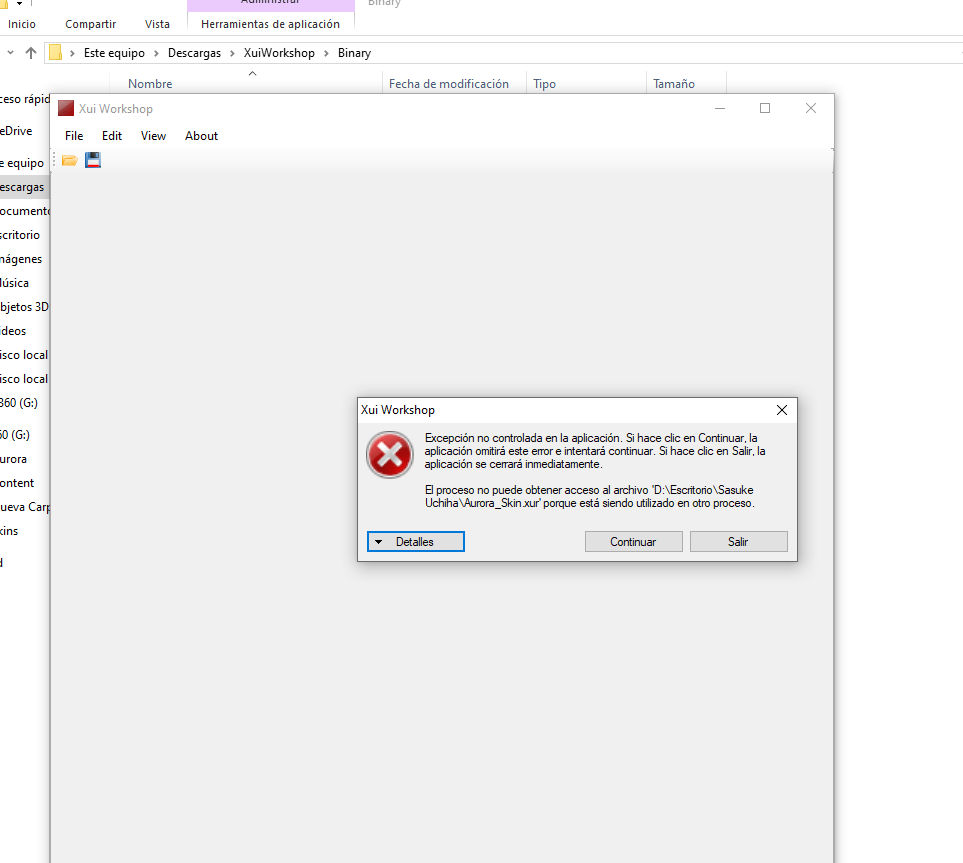
2 minutes ago, Lx1 said:agora não consigo mais abrir arquivos xur ajuda

Use the XBOX360 NEIGHBORHOOD to open files in XUR format. -
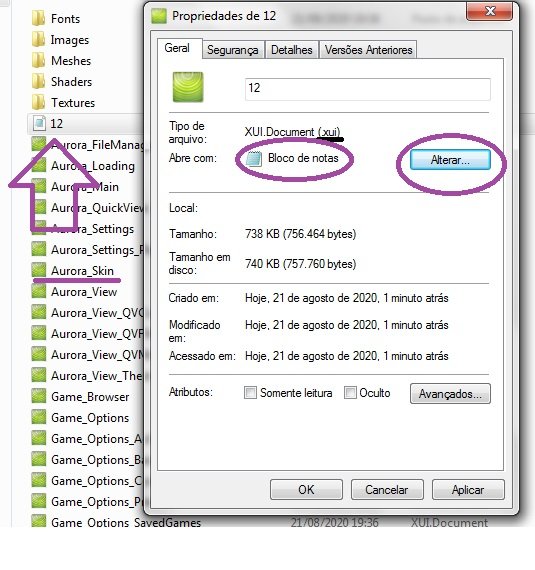
1- Use the XZP Tool to extract the skin, which you will modify;2- After extracting the skin, open the folder with the extracted skin files;
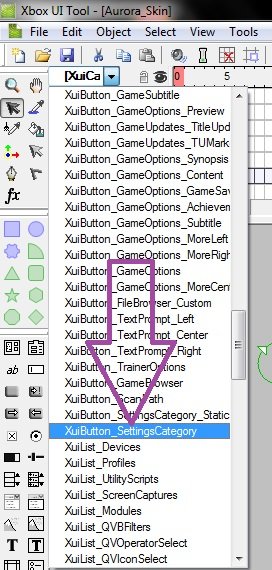
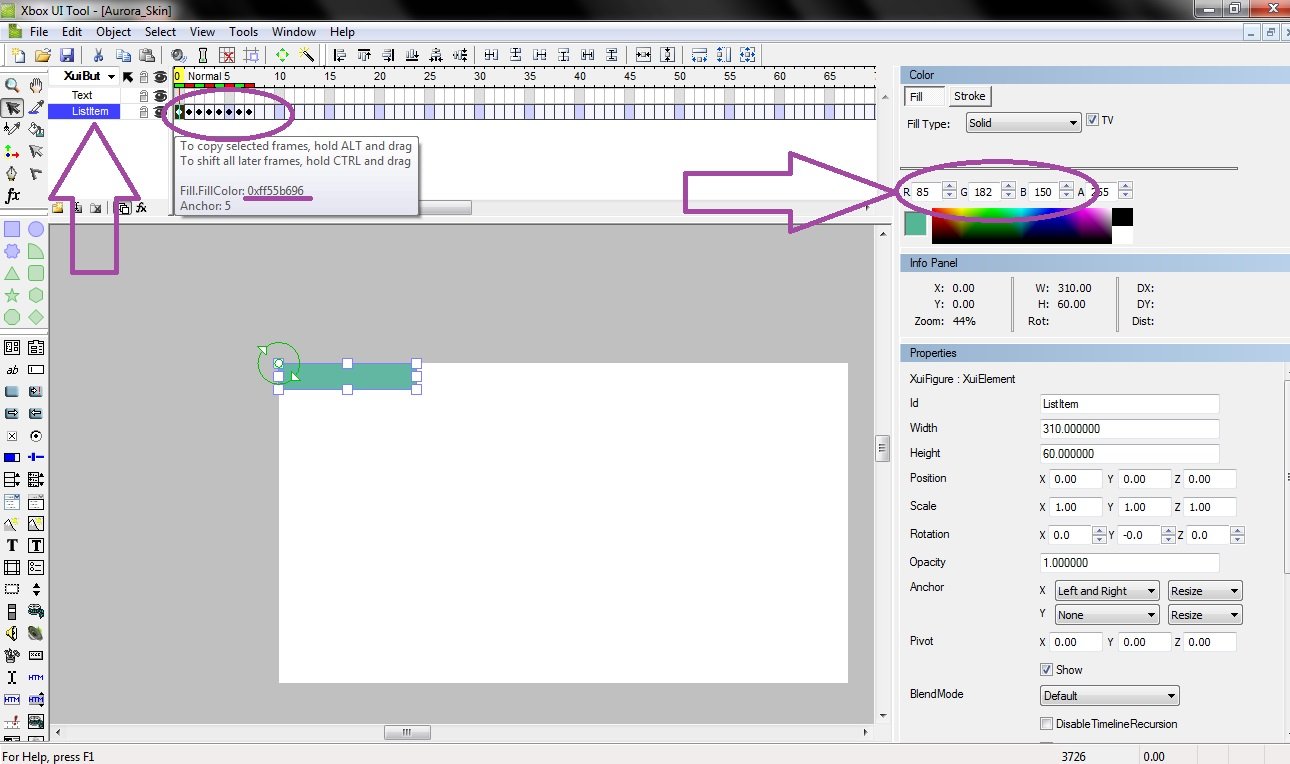
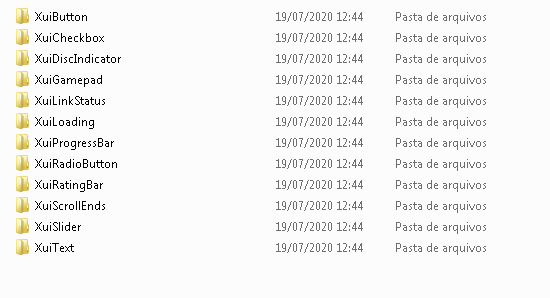
3- Open the file "Aurora_Skin" and go to: "XuiButton_SettingsCategory";
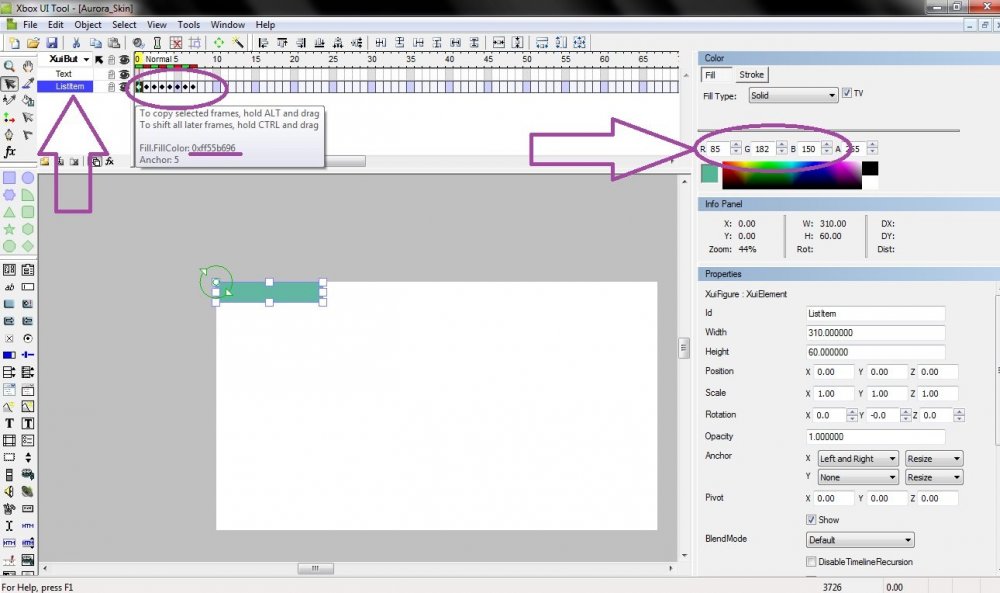
4- Click on the option and go to "ListItem". Note that there will be 8KeyFrame, place the mouse over one of them and look at: Fill.FillColor. There will be 2, with different colors: 0xff55b696 and 0xff55b696;
5- Change the color of the Keyframe to the color you want. On the right side there will be a color palette. Change the color of the first Keyframe and see that the Fill.FillColor code has also changed. Take this new code and save it;
6- After getting this information, convert "Aurora_Skin.XUR" to "Aurora_Skin.XUI". (File, save as);
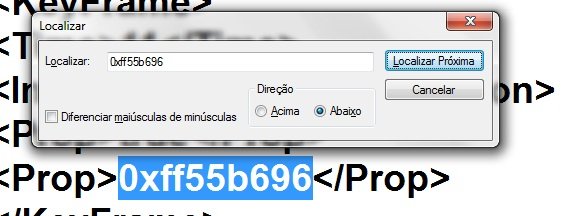
7- Open Aurora_Skin.Xui with the notepad;
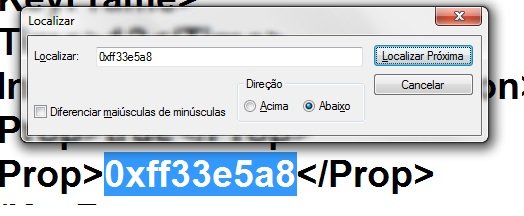
8- Press the "F3" key to open "Find";
9- Inside the Finder place the blue color code. Replace all blue colors with the new color you want. (That new fill.fillcolor code);
10- After you have replaced everything, save the file. Go back to the XBOXSDK format.
11- Now open Aurora_Skin.XUI and go to "XuiButton_SettingsCategory". Make sure all keyframes are in the color you want;
12- The old Aurora_Skin.XUR you can delete;13- Cover Aurora_Skin.XUI to Aurora_Skin.XUR. (export binary);
14- Open Aurora_Main.XUR and go to File, Load Skin and select Aurora_Skin.XUI;
15- Save Aurora_Main.XUR. (export binary);
16- Now convert your skin to the XZP format using the XZP Toll and that's it;
17- Put in the skin folder that is inside the Aurora folder, put the flash drive on the XBOX, go to skin, select your skin that you just modified and that's it !!
If you can't let me know. I used the google translator, there may be some grammar errors. I'm sorry.
-
I managed <3. Thanks for helping me felida and mrknorton.
-
7 hours ago, mrknorton said:Like felida said, each elements can have multiple "frames" so it can have different properties in different situations (like when element is selected, is disabled, ...). There are some sticked tutorials in the skin-development-and-lua-scripting section.
As an alternative, if you know a bit of Python and you only want to change the green color with another (like I've done with my Metro colors skins), I wrote a simple script that does the job for you (kind of). Script is available at this page: https://github.com/mrknorton4007/aurora-color-replacer
Another way is to open your .xui files with a file editor like notepad and do a search & replace of the two green colors. Probably this approach is faster than checking every single frame and change its color 😅
Hope it helps.
Okay, I will look at these topics. Thank you.
-
On 22/07/2020 at 19:50, felida said:Você não mudou a parte "foco". Assista ao meu vídeo sobre os quadros .
Okay, I'm going to watch your videos to find out more. Thank you for your help.
-
I changed the color of everything I found; but I still haven't been able to change the color of the bar. HAHA :/

I put a skin already customized to see how it works. -
3 hours ago, felida said:Está no skin.xui, se bem me lembro .. tudo o resto chama isso para o visual ..
Thanks, I'll take a look.
-
-
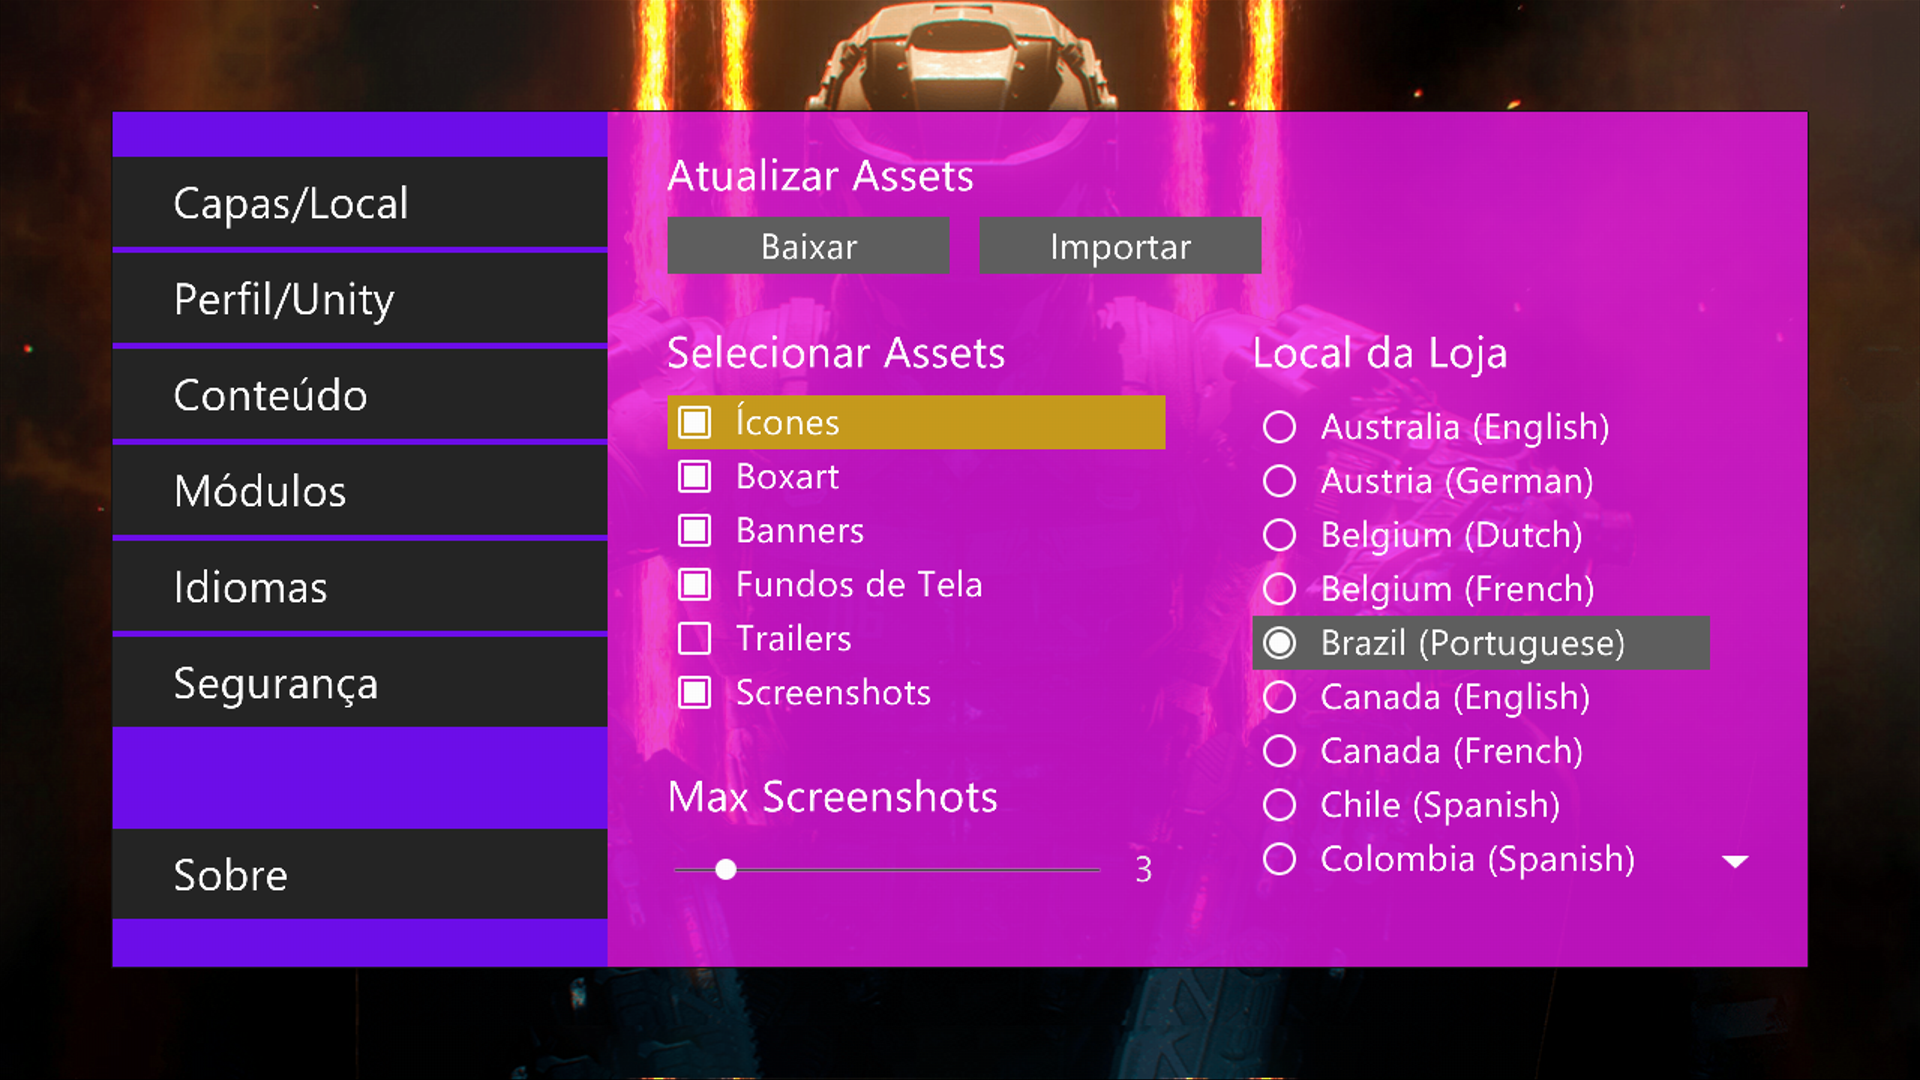
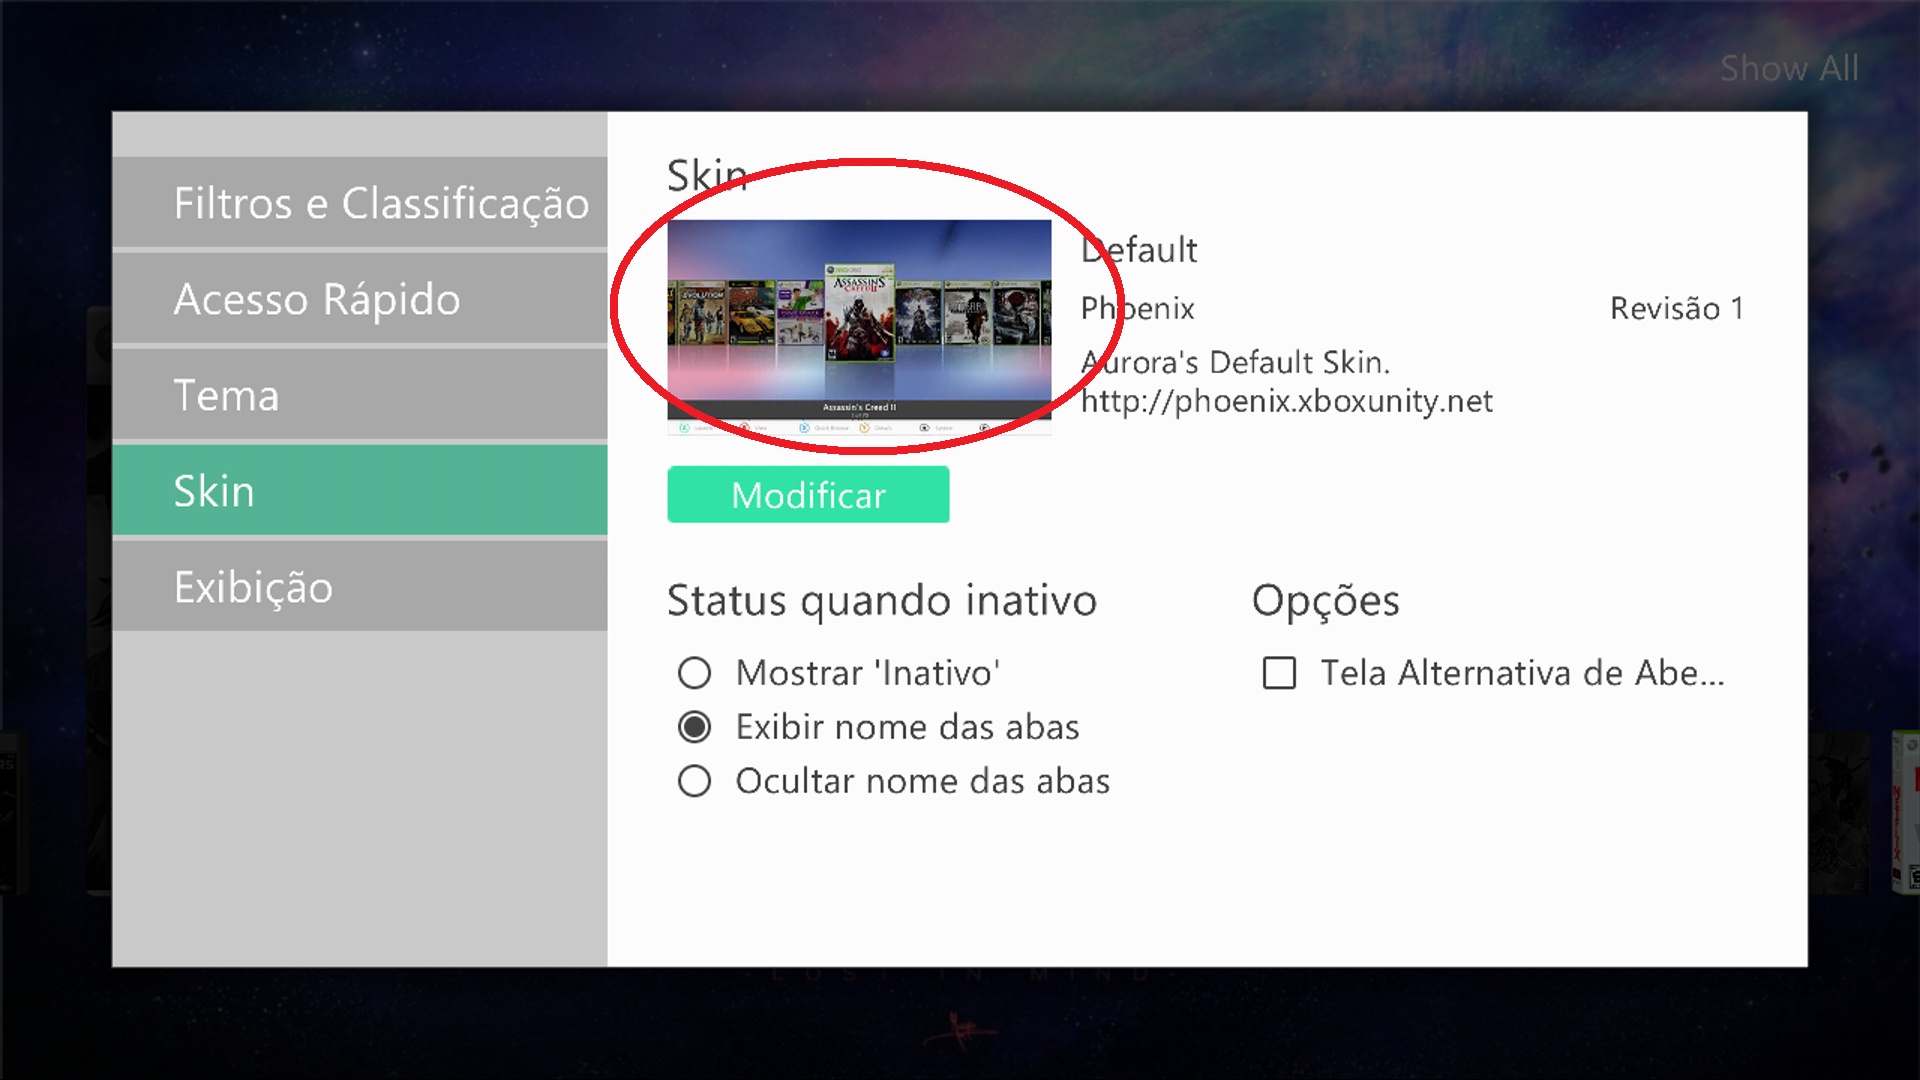
Hello everyone! I come here to ask for your help again. Today's question is: every time I choose an option on Aurora; it gets that green color. Where can I change this color?
I used Goggle Translator to write this text. Some words may not be grammatically correct.
-
Hello everyone! I come here to ask for your help again. Today's question is: every time I choose an option on Aurora; it gets that green color. Where can I change this color?
I used Goggle Translator to write this text. Some words may not be grammatically correct.
-
This was very good. Congratulations!
-
6 minutes ago, felida said:Thank you! I will take a look -
I edited the question, I believe the question is now in English.
The "tool" it is: Xbox360 Neighborhood? I have it and already unzipped the skin with the XZP Tool; but I haven't found the place where I can change this photo. If you can help me, I appreciate it.

-
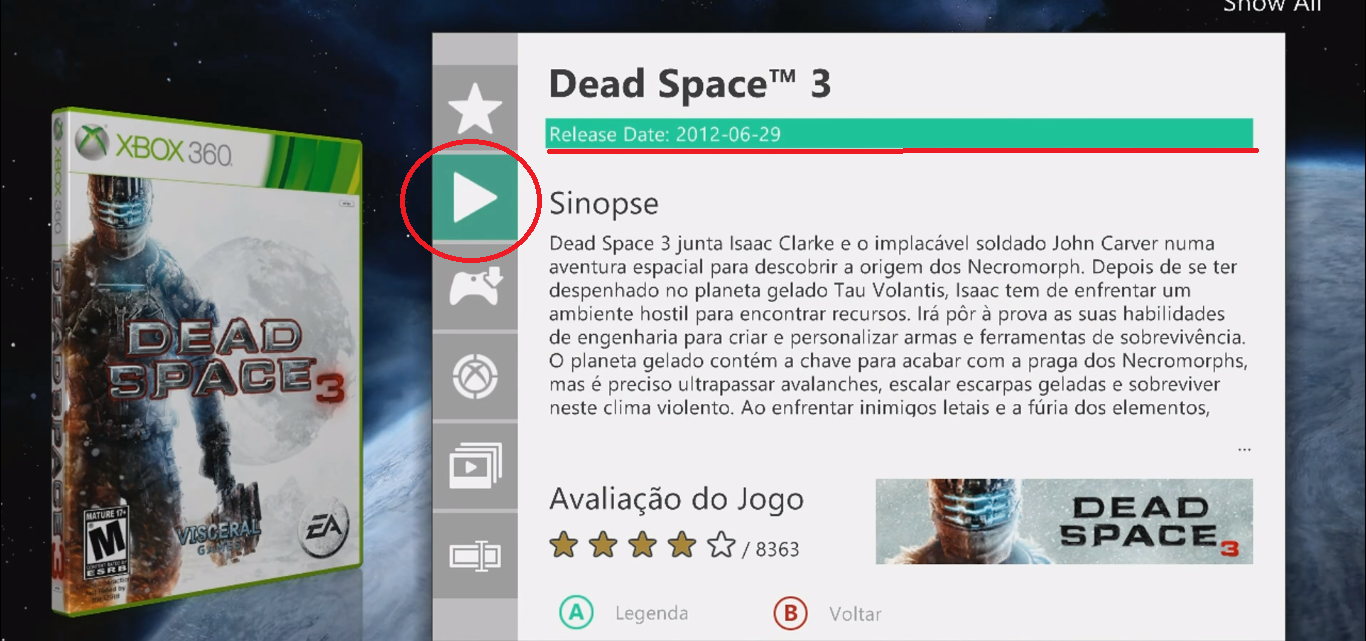
Hello, this is the first topic I'm doing.
I am creating my first skin; I'm starting with something simple. But there is only one thing left for her to be complete, which is to change this photo that I don't know how to do. If anyone can help me, I will be very grateful. Thank you.
I used Goggle Translator to write this text. Some words may not be grammatically correct.

-
How did you do it? -
help how to convert xur to xui correctly
in Skin development and LUA scripting
Posted
Buscar en Youtube: Damtig
 Él tiene algunos videos de edición de piel de Aurora.